¶ Promote on Starlet
Whether you're new to clipping or already have an established clipping community, you may decide on opening up your server to new clippers. While promoting on Starlet is not always an easy one step solution to finding new clippers since many factors influence success (such as the type of content or how much the creator is involved in their community), it often still helps creators branch out and gain more clippers.
¶ What is Promoting on Starlet?
Promoting on Starlet allows you to customize an ad to post in the Starlet Creatives server.
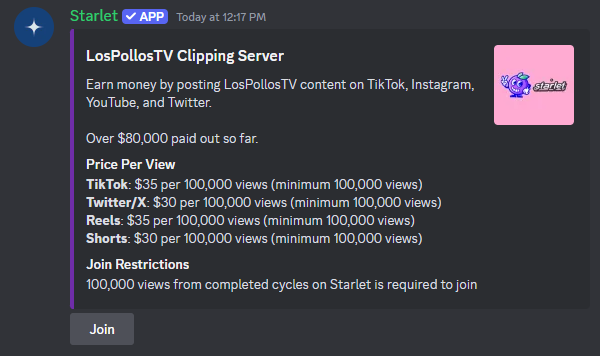
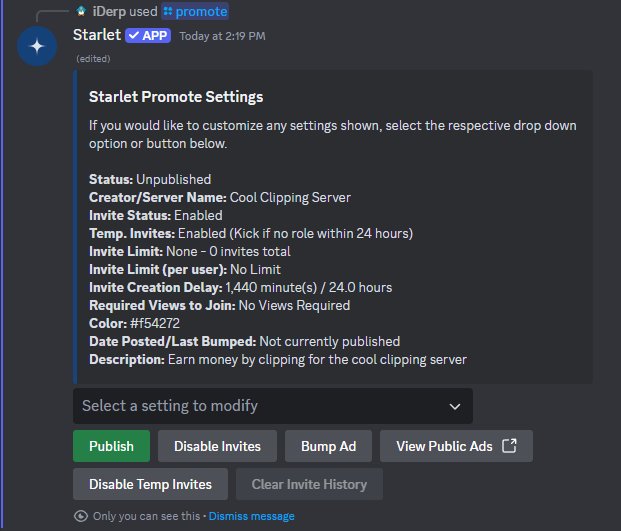
¶ An example of how your ad can look on Starlet
¶ Is there any requirements to promoting?
As long as your server and ad follows the Discord guidelines and terms of service, you can promote it.
¶ How do I promote my server?
Promoting your server on Starlet is a pretty straight-forward process. First, after running the /promote command in your server, you should be prompted with a similar message as shown below. If you're ready to start the setup process, select the Yes button.
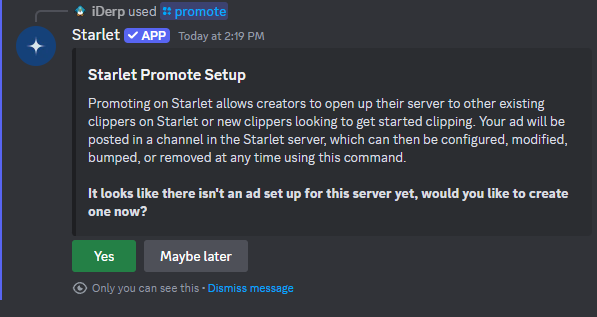
-
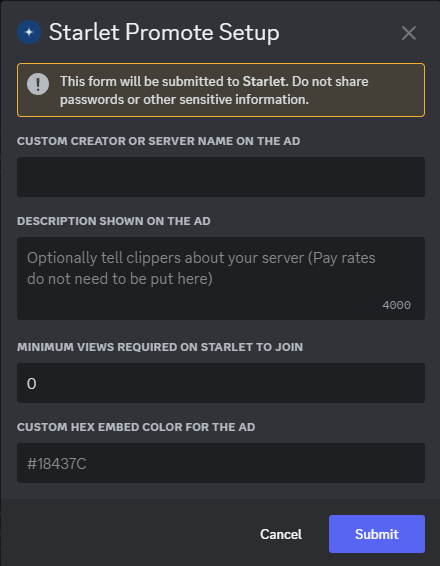
After selecting
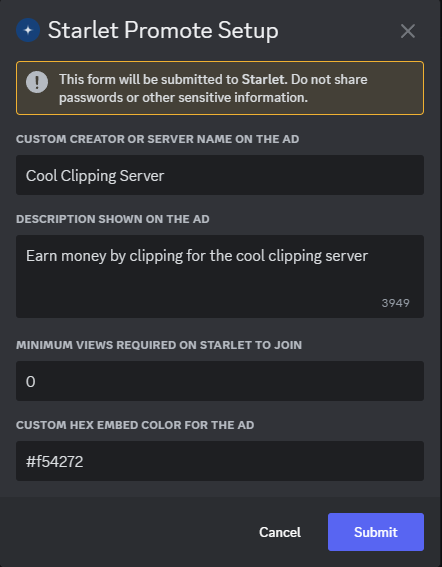
Yes, you'll be prompted with the basic details needed to customize your ad. While it isn't required to change any of the placeholder or prefilled details shown, we recommended at the very least to provide a description so clippers know more about your server. The description does not need to include the payment model your server uses as it will already be automatically displayed on the ad. Once you're satisfied with the details, select theSubmitbutton.
-
Once submitted, your ad is saved but not yet published. To publish your ad, simply select the
Publishbutton and your ad will be instantly posted in the Starlet Creatives server, otherwise you can continue reading below to learn how to customize your ad even more.
¶ Customizing your ad on Starlet
There's quite a few settings for your ad that can be customized which are described below.
¶ Name
The name is displayed on the top of the ad and by default is the same as your server name.
¶ Description
The description is shown directly under the name on the ad and is useful for putting information about your server that may entice clippers to join. It is not required that you put the payment model your server uses here as it will already be automatically shown below the description.
¶ Color
The color on the left side of the ad embed can be customized to any hex color desired. By default, the Starlet Blue color is used. If you're unsure where to find a hex code for a color, simply Google "color picker" and use either the Google provided color picker or any other website that provides hex codes for colors.
¶ Required Views
You may decide to set a view requirement for your clippers who are trying to join. By setting a required view amount, clippers will need to have amounted the set total amount of views from completed paycycles in others servers across all platforms. If set, the required amount of views will be displayed under the join restrictions section on your ad.
¶ Invite Limit
Setting an invite limit will limit how many invites can be created through the ad. Once this limit is reached, the join button will be disabled on the ad and no new clippers can join until the limit is increased, disabled (set to 0) or the invite history is cleared.
¶ Invite Delay
By default, clippers are restricted to requesting an invite every 24 hours (1440 minutes). This limit can be raised, lowered, or disabled if set to 0.
¶ User Max Invites
In addition to or in place of the invite limit, invites can be limited per user rather than overall. By default, there is not a limit set for the maximum invites per user. Once this limit is reached for a user, they will receive an error message if they attempt to join stating they have reached the set user invite limit and the user will not be able to join again though the ad unless the limit is increased, disabled (set to 0), or the invite history is cleared.
¶ Publish
Selecting the Publish button will post your ad in the Starlet Creatives server for clippers to see and join. Unpublishing will remove your ad from the server, though your ad will not be able to be published again if it has been published or bumped within the last 24 hours.
When any setting on an ad is updated while the ad is published, you do not need to republish the ad as the changes will be reflected immediately.
¶ Enable/Disable Invites
The Enable/Disable invites button allows to temporarily enable or disable invites without unpublishing your ad. When enabled, your ad will behave as normal and allow invites as long as no limits are reached and all requirements (if any) are met. Disabling invites will disable the join button on the ad and state that invites are currently disabled under the join restrictions.
¶ Bump Ad
Bumping your ad pushes it to the front of the opportunities channel in the Starlet Creatives server. An ad can only be bumped every 24 hours since it was last bumped or published.
¶ Enabled/Disable Temp Invites
Temp. invites is a feature on Discord that grants temporary access to a server then kicks the user after 24 hours if they have not received a role. By default, temp invites are disabled as Discord often seems to kick the user if they go offline while verifying their account before they receive any roles.
¶ Clear Invite History
Clearing the invite history will remove all logs from Starlet of who made which invites, how many invites each user has made and the total amount of invites overall. This will not change any limits set, but will clear them as if no one has joined yet.